
by Tracy Grossman
There’s something about fall that makes me want to put on some soup and bake homemade bread. We live in the middle of Iowa, where sultry hot summers make July and August baking unreasonable endeavors. So when that crisp air starts to linger through the mornings and socks are a source of comfort (and not suffocation) for your feet, it’s time to start up the oven once again.
I did not grow up making bread, but I married a man whose mother made bread for many years. As a result, I was able to sit under her teaching and learn “from an expert” how to make delicious bread. Over the years, I have tweaked, simplified, and changed the process, but I still remember how daunting bread making seemed when I first started. I have learned a few things about making bread that I will share with you, because it changed how I view the whole thing.
Bread making is not an exact science.
We live in an era where we don’t just use measuring cups to portion ingredients, but now culinary experts have graduated us to the use of scales. Our recipes read “42 ounces of flour” or whatnot. For bread? Totally unnecessary. At the core, what you are looking for is texture. Pick simple recipes, and let go of the anxiety of perfection.
People were making scrumptious bread long before they had kitchen scales available.
Bread-baking will not take for.ev.er
It seems like baking bread would be a really time-intensive, complicated process, but in reality, bread is something you can start and ignore most of the day. So, even though it takes many hours to make bread, they are not hours of active participation.
Prepare for imperfection in the process
I think it’s important to mention that this process is probably not going to go perfect the first time, every time. Baking bread can be a kind of art- or maybe like riding a bike. You might have a few flops – I certainly did when I started – burning whole batches or, in the wake of that trauma, pulling them too early, leaving the middle gooey and inedible.
But over time, you will get so good at it that you will be able to make bread with your eyes closed and one toddler tied behind your back. It’s a skill like any other, and to wield it well you need to practice, fail, and practice again.
How to make homemade bread
Here is my wordy, step-by-step tour through the bread-baking process.
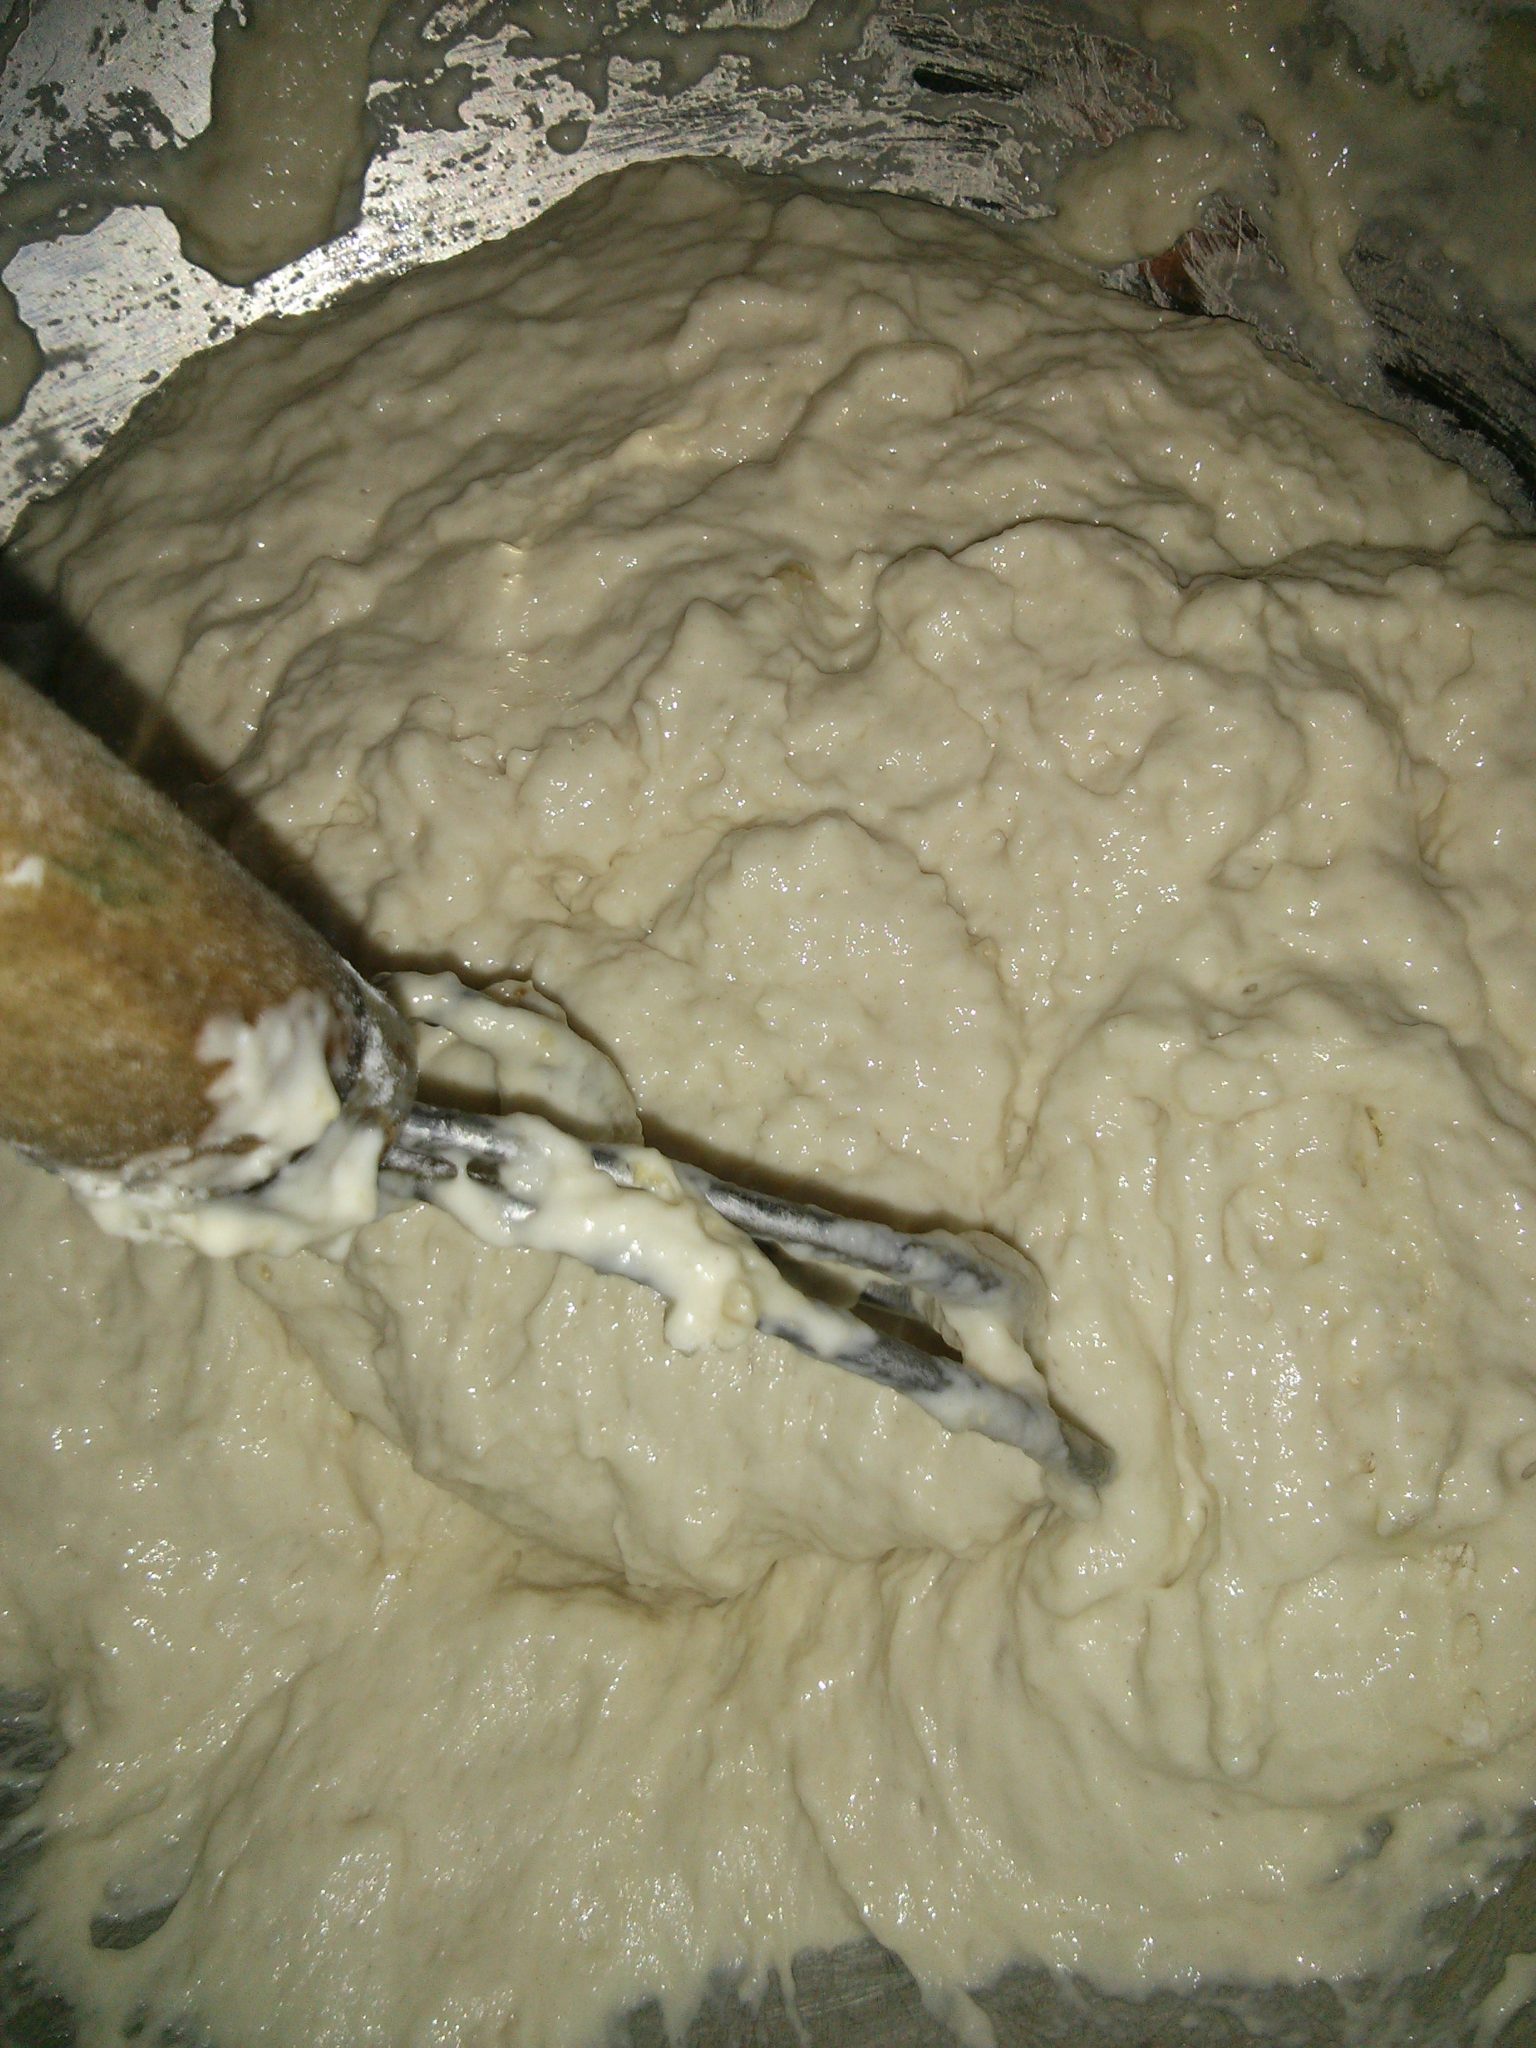
Combine
Grab your biggest bowl and mix together warm water, sugar, yeast, and flour.
- 3 cups warm (baby-bath temperature) water
- 4 cups whole wheat flour
- 1 ½ Tb. yeast
- ⅓ c sugar
Yeast thrives in warm environments and eats sugar, so start by mixing the yeast with these things. At this point, you aren’t worried about getting everything mixed together into a cohesive dough, you just want to start waking the yeast up.
Then I go away and do something else for 15-20 minutes. I start a load of laundry or read to a squirrelly preschooler, maybe. During this rest, the initial gluten strands form. You are letting chemistry do the hard work here. Ultimately, taking this break will cut down on the time required to knead the bread.
Knead
When you come back, mix in salt, oil, and the remaining flour.
- 4 tbsp oil
- 3 tsp salt
- 1 – 3 cups more white flour
Salt slows down the yeast, so adding it in now (instead of at the beginning) allows the yeast a head-start.
As for the additional flour, stir and add until the dough becomes too stiff to incorporate it all by spoon. Then, turn it out onto a clean, floured counter top, kneading the dough for a few minutes until it is not super sticky, and is all one lump of dough (rather than a gooey mess).
Then leave the dough in the bowl on your counter, covered with a towel, until it is doubled in size. This takes around 1-2 hours but is highly dependent on temperature. In the summer my dough rises extremely fast; in winter it takes much longer.
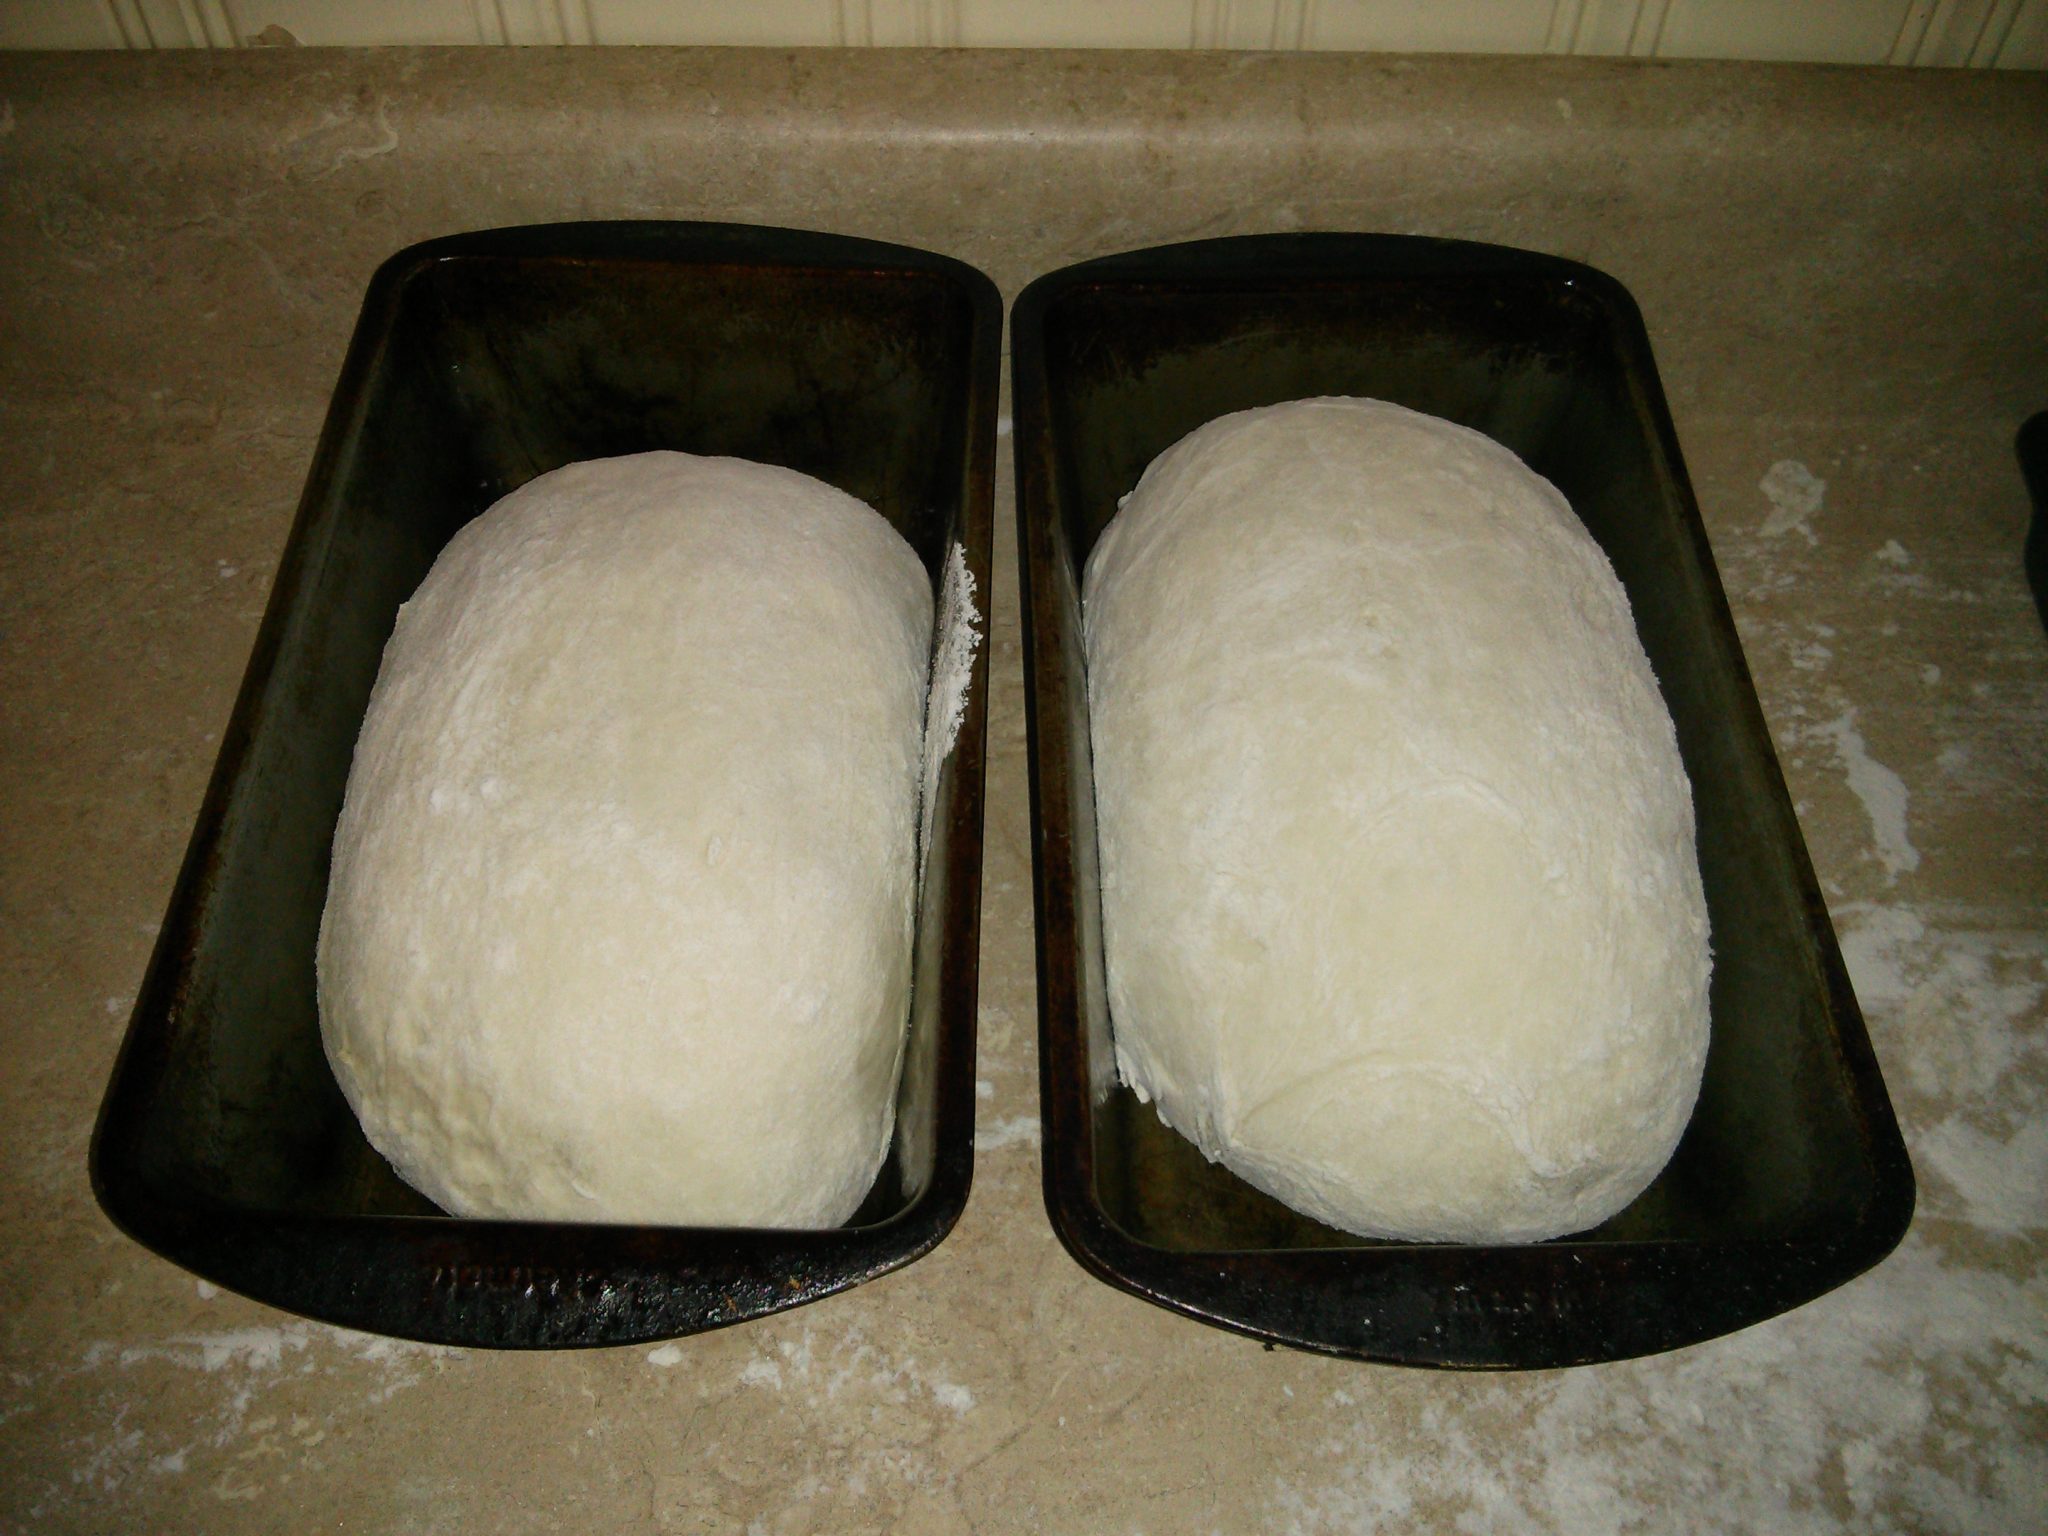
Shape
When the dough has doubled, squish all of the air out of the dough. Turn it back onto the counter and divide it into two.
Grease your loaf pans, shape your dough into two loaves, and plop them into the pans.
Then put the pans back on the counter and let them rise until they are slightly smaller than loaf-sized. They will grow a tiny bit more in the oven before the high temperature kills the yeast.
Bake
Preheat oven to 375* and bake your bread for 30-40 minutes.
When they are golden brown – maybe even a bit darker than you would think, take them out.
I always tip the first one out onto the cooling rack to see if the bottom is golden and hollow-sounding when tapped. If it isn’t, I stick it back in for a few more minutes. Better to be slightly overdone than doughy in the middle.
After it is cooled, bread stores nicely in the fridge or freezer, wrapped in foil or plastic.
Bread-making is a process as much as it is a recipe
In the end, this process (mix, rest, knead, rest, shape, bake) is the same for many bread recipes. When you are armed with the method, you can wield any bread recipe.
Start with this recipe, maybe, or any bread recipe, for that matter, and make something scrumptious for dinner tonight or breakfast in the morning. Or, if you are like us…a mid-afternoon snack straight out of the oven. Through each batch you will learn something valuable (even if all you learn is that a toddler will take a fist-full directly from the top of your fresh loaf if allowed the opportunity).
The results of learning how to bake bread well are totally worth it. There’s just nothing that beats fresh homemade bread with butter (or Nutella) on a cool fall day.
Do you bake your own bread? Or did you try it after reading this? How did it go?
Learn how simple bread-making can be!
Fresh homemade bread is more of an art than a science. This one-page printable shows you how to approach the process artistically so you can have delicious, reliable bread every time – by hand or machine, whole wheat or white!
